Check out our new wicked midnight temporary tattoos. Prices start at $2.00 per temporary tattoo, and discount as you order more. See our pricing.
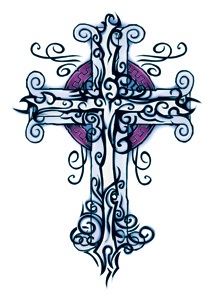


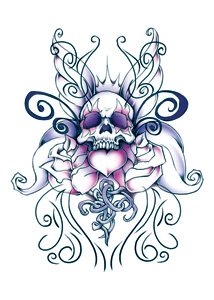


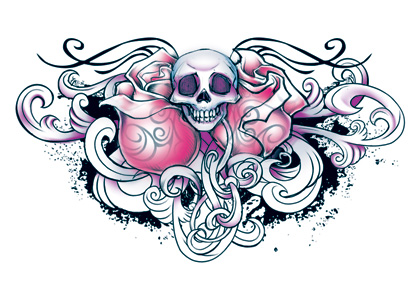
For more designs, check out our temporary tattoos gallery.
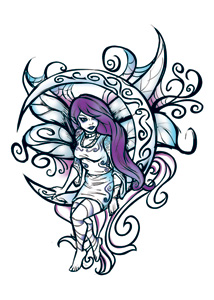
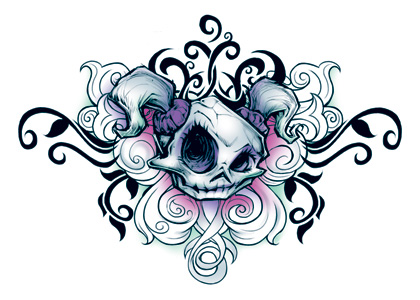
Check out our new wicked midnight temporary tattoos. Prices start at $2.00 per temporary tattoo, and discount as you order more. See our pricing.
For more designs, check out our temporary tattoos gallery.
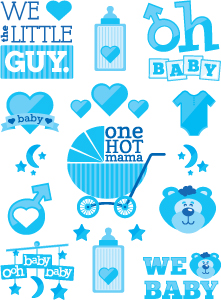
Check out our new Babytoos!
Perfect for baby showers. Each temporary tattoo sheet comes with 17 cute baby designs, so everyone can join in the fun!
And they’re only $3 per sheet, or even cheaper if you buy in bulk. For bulk discounts, check out our temporary tattoo price list.
New Baby Shower Temporary Tattoos – It’s a Boy!
New Baby Shower Temporary Tattoos – It’s a Girl!

These Instructions are for Laser Printers only. For Inkjet Printers, see:
How To Make Your Own Temporary Tattoos (Using an Inkjet Printer)
What you need:
1. A DIY Temporary Tattoo Paper pack including the following:
a) Laser Tattoo Paper Sheet (where you print your designs)
b) Peel-back Adhesive Sheet
2. Any graphic software program to create your custom tattoos.
Artwork Settings:
Set up your artwork as a “MIRROR IMAGE” within your editing program. If there is no text in the tattoo, this is not a necessary step.
However, if you don’t set it up as a “MIRROR IMAGE” then the tattoo will appear reversed from the original design when you actually put it on the skin. So, it’s always best to do this step if you want the design to look the same on the skin as it does on your computer.
Use mirror images for: flags, numbers, words, banners, etc.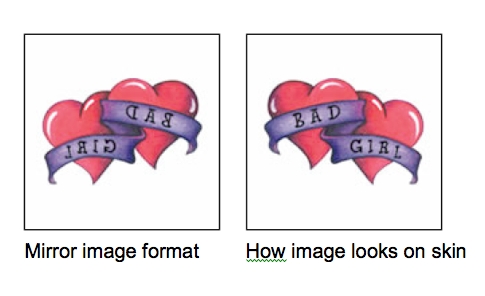
Printer Settings:
Set your printer as follows:
– Paper = Plain
– Quality = Normal
– Portrait Mode
(Print your tattoo on the glossy side of the tattoo paper)
Printing and Application:
1. Print on the glossy side of the tattoo paper sheet.
Important: You should feed your printer one sheet at a time to avoid jamming the printer since this paper is thicker than regular paper.
2. Take the clear adhesive sheet (this is actually two sheets of plastic stuck together).
Peel back one corner of the sheet, in order to expose the adhesive and then separate the two sheets.
3. Apply the adhesive sticker sheet to the printed side of the tattoo sheet.
Be sure to remove all air bubbles.
4. Use your scissors to cut around each tattoo design, keeping as close as possible to the tattoo.
5. When choosing a place to apply your skin tattoo, you should try to choose one that is free of body hair.
6. Wash the chosen skin area and dry thoroughly. Skin should be dry when the temporary tattoo is applied.
7. Make sure your hands are dry. Next, remove the adhesive backing from the tattoo paper.
8. Apply the tattoo to your skin and press firmly for 20 seconds.
9. Apply a wet sponge to the tattoo for 60 seconds. When the paper is thoroughly wet (you will be able to see the tattoo image through the tattoo paper), remove the paper to reveal the temporary tattoo.
IF YOU HAVE ANY QUESTIONS REGARDING DIY TEMPORARY TATTOO PAPER & ADHESIVES PLEASE FEEL FREE TO CONTACT US.
www.temporarytattoosaustralia.com.au
These Instructions are for Inkjet Printers only. For Laser Printers, see:
How To Make Your Own Temporary Tattoos (Using an Laser Printer)
What you need:
1. A DIY Temporary Tattoo Paper pack including the following:
a) Inkjet Tattoo Paper Sheet (where you print your designs)
b) Peel-back Adhesive Sheet
2. Any graphic software program to create your custom tattoos.
Artwork Settings:
Set up your artwork as a “MIRROR IMAGE” within your editing program. If there is no text in the tattoo, this is not a necessary step.
However, if you don’t set it up as a “MIRROR IMAGE” then the tattoo will appear reversed from the original design when you actually put it on the skin. So, it’s always best to do this step if you want the design to look the same on the skin as it does on your computer.
Use mirror images for: flags, numbers, words, banners, etc.
Printer Settings:
Set your printer as follows:
– Paper = Plain
– Quality = Normal
– Portrait Mode
(Print your tattoo on the glossy side of the tattoo paper)
Printing and Application:
1. Print on the glossy side of the tattoo paper sheet.
Important: You should feed your printer one sheet at a time to avoid jamming the printer since this paper is thicker than regular paper.
2. Wait until ink is fully dry (about 2-3 minutes) before you touch the temporary tattoo paper sheet.
3. Take the adhesive sheet and peel off the paper backing.
4. Apply the adhesive sticker to the printed side of the tattoo sheet.
Be sure to remove all air bubbles.
5. Use your scissors to cut around each tattoo design, keeping as close as possible to the tattoo.
6. When choosing a place to apply your skin tattoo, you should try to choose one that is free of body hair.
7. Wash the chosen skin area and dry thoroughly. Skin should be dry when the temporary tattoo is applied.
8. Make sure your hands are dry. Next, remove the adhesive backing from the tattoo paper.
9. Apply the tattoo to your skin and press firmly for 20 seconds.
10. Apply a wet sponge to the tattoo for 60 seconds. When the paper is thoroughly wet (you will be able to see the tattoo image through the tattoo paper), remove the paper to reveal the temporary tattoo.
IF YOU HAVE ANY QUESTIONS REGARDING DIY TEMPORARY TATTOO PAPER & ADHESIVES PLEASE FEEL FREE TO CONTACT US.
www.temporarytattoosaustralia.com.au